Diffusing curly hair is a game-changer! Romona and I, learning how to diffuse properly wasn’t something that came naturally. It took practice, patience, and a few frizzy trial-and-error moments before we finally got it right.
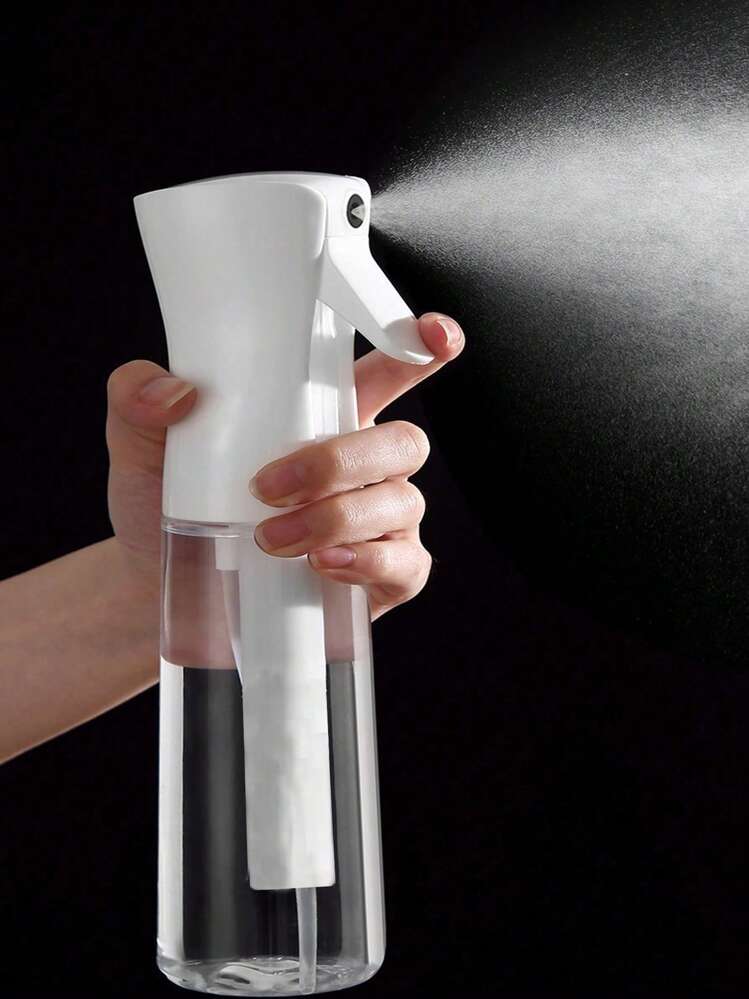
At first, we didn’t understand the importance of applying products to wet curls—not damp, but soaking wet curls straight out of the shower. Back then, we’d apply gel or mousse to hair that was already starting to dry/damp, which left us with frizz and curls that wouldn’t hold their shape. It was frustrating! Over time, we figured out that wet application locks in the moisture and ensures the products distribute evenly, creating those soft, defined curls we both love.
Diffusing itself was another skill we had to master. In the beginning, we’d hover the diffuser too far or handle the curls too much, and the results were inconsistent. But practice truly does make perfect. Now, diffusing is one of our favorite parts of styling because it’s where the magic happens—seeing our curls come to life is so rewarding.
If you’ve been struggling with diffusing or ending up with frizz, don’t worry—you’re not alone. Romona and I have been there, and we’re here to share everything we’ve learned to help you get the curls you’ve been dreaming of. Let’s dive into how to diffuse curly hair like a pro, keeping your curls defined, hydrated, and frizz-free!
1. Apply All Products on Wet Hair
One of the best ways to lock in moisture and prevent frizz is to apply your styling products directly onto soaking wet hair. When curls are wet, the cuticle is more open to absorbing moisture, and the products help lock in hydration, reducing frizz as you dry. Here’s the order for maximum frizz control:
- Leave-In Conditioner: Start by applying a leave-in conditioner to wet curls for an added layer of moisture and to create a smooth base.
- Gel or Mousse: Apply a generous amount of gel or mousse while your curls are still wet to help define the curl pattern and form a “cast.” This cast acts as a protective layer around each curl, which you’ll later scrunch out for soft, defined curls.
- Light Oil (Optional): For extra moisture and shine, you can add a few drops of light oil to the ends of your hair after the gel or mousse. This adds extra frizz protection and seals in moisture.
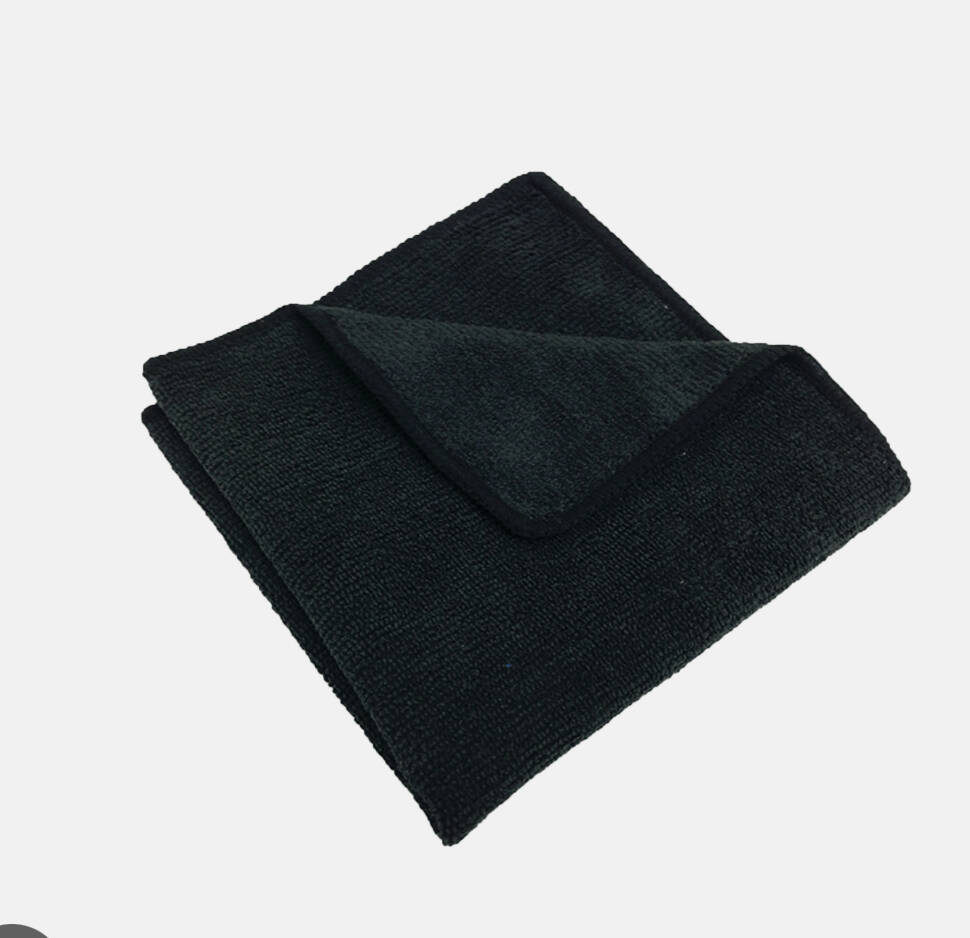
2. Use a Microfiber Towel or T-Shirt to Blot Excess Water
After applying products, gently blot any excess water with a microfiber towel or a cotton T-shirt. This step removes just enough moisture for faster diffusing without disturbing your curls. Avoid rough drying with a regular towel, as it can lift the cuticle and lead to frizz.
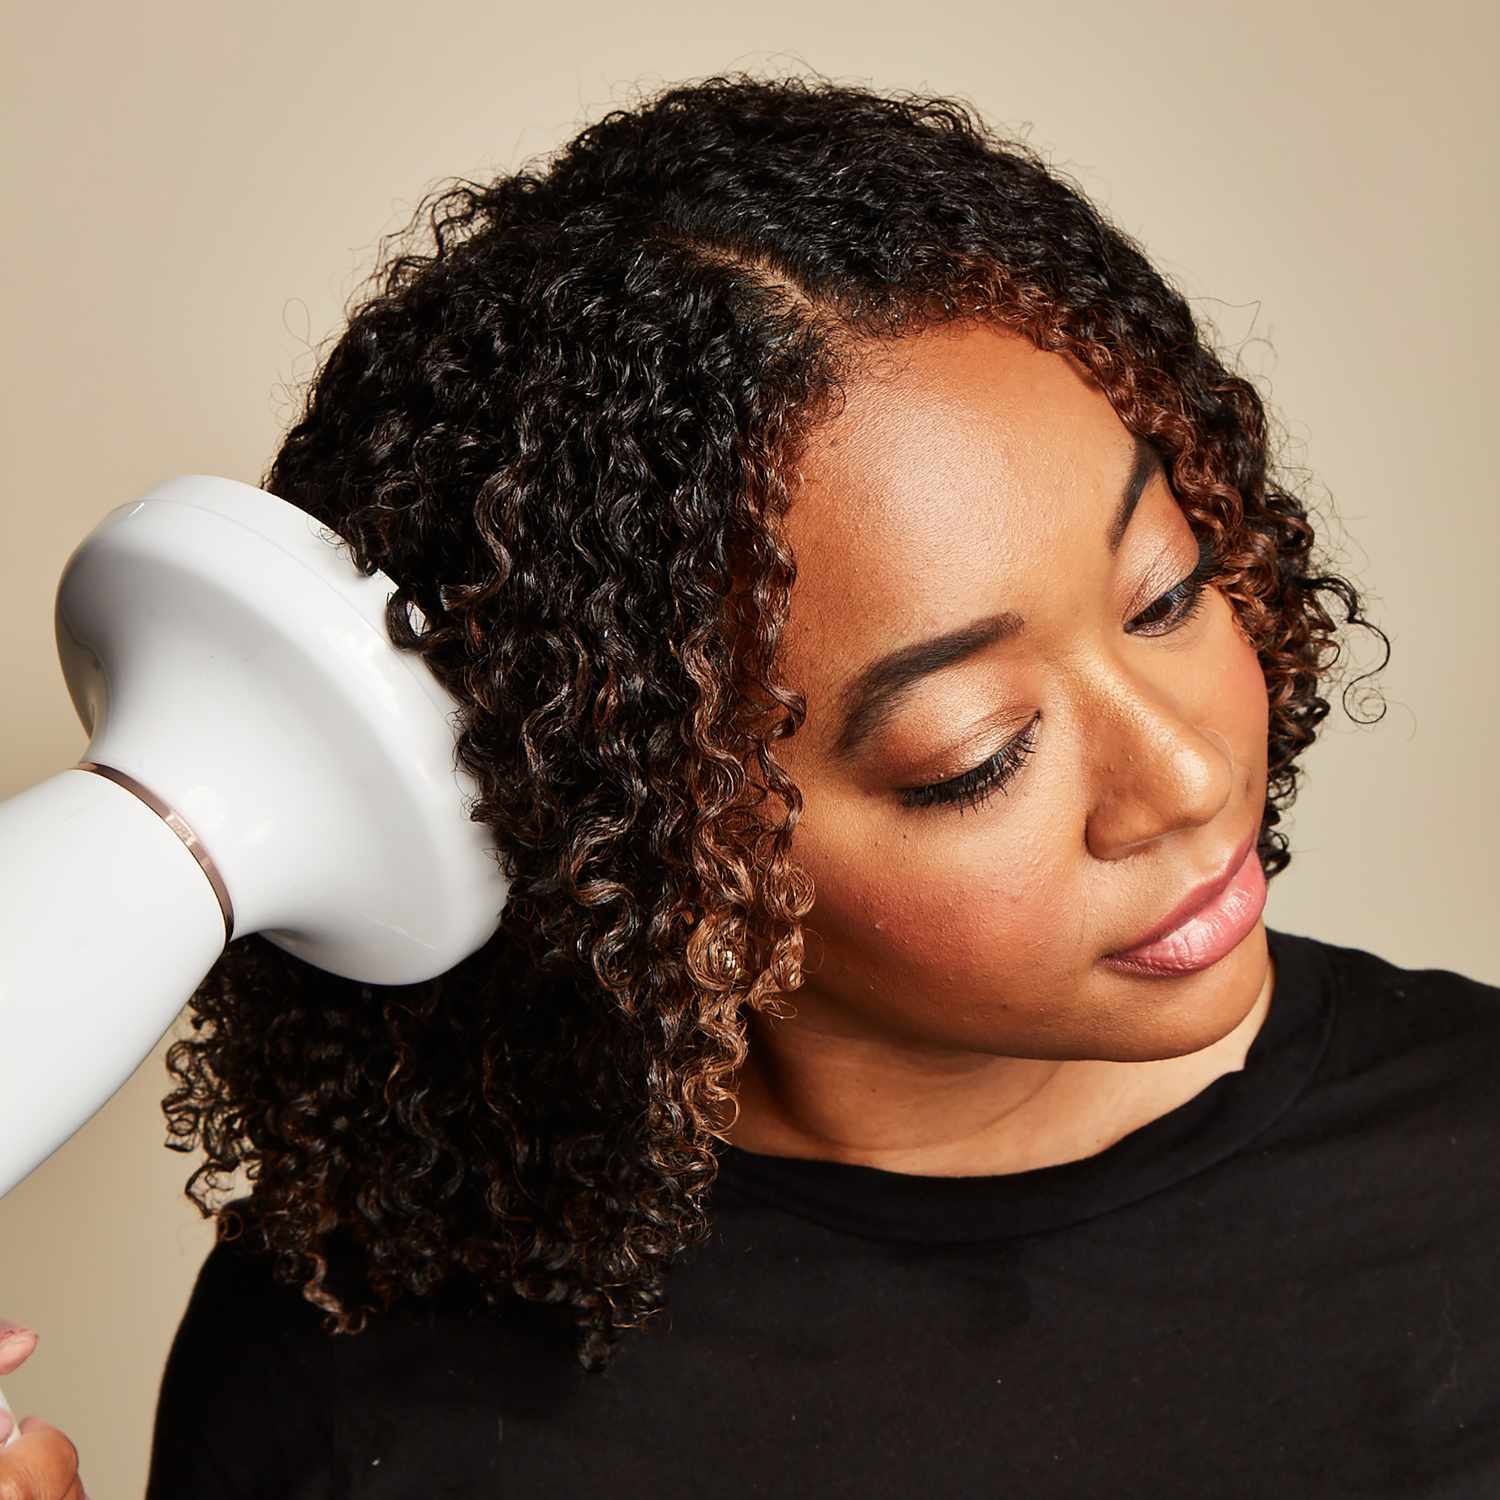
3. Choose the Right Diffuser and Heat Settings
Choosing the right diffuser attachment and heat settings makes all the difference in frizz control. High heat and high airflow can lead to frizz, so it’s best to use a lower, gentler setting.
- Large Bowl Diffuser Attachment: Use a diffuser with a wide bowl and prongs to cradle and lift your curls while evenly dispersing air.
- Low to Medium Heat: Stick to low or medium heat and low airflow. This slower drying method allows curls to set in place, reducing the risk of frizz.
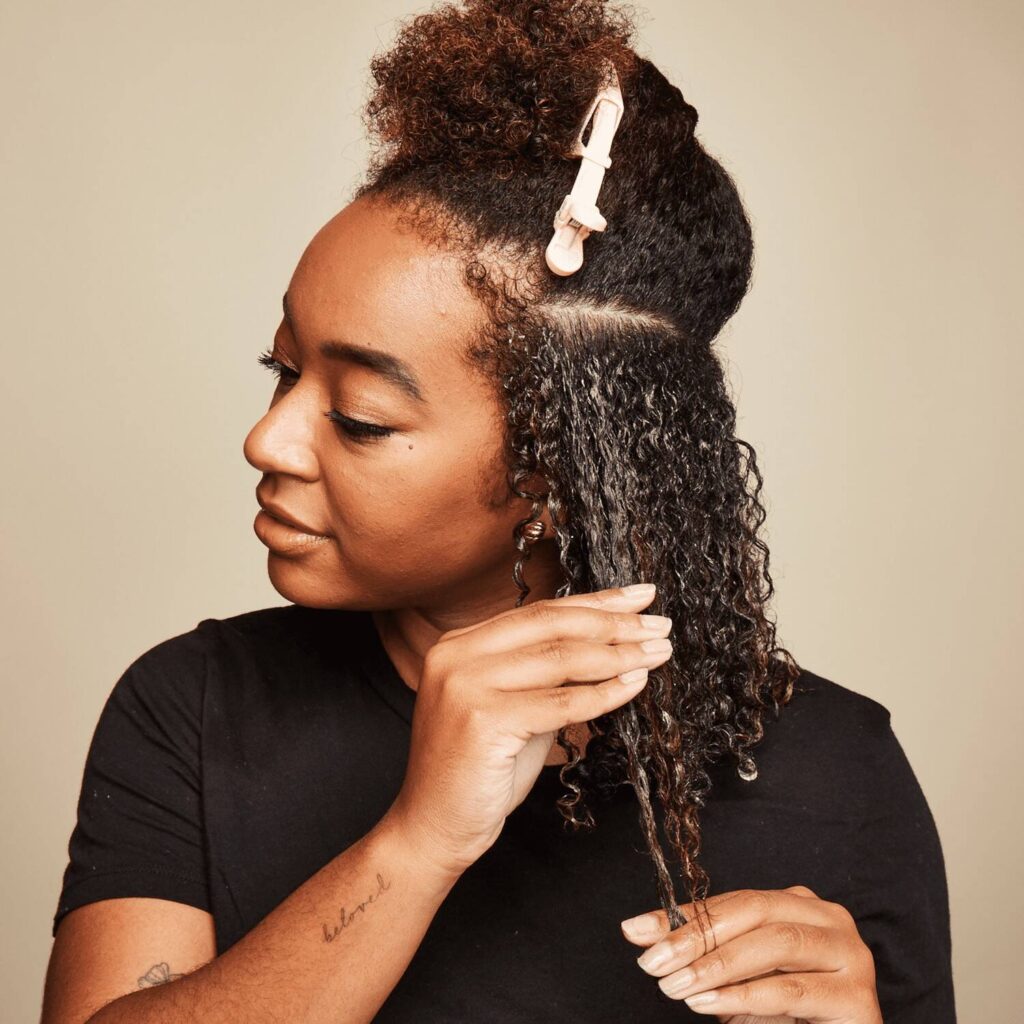
4. Diffuse in Sections and Start from the Ends
To maintain defined curls, start diffusing at the ends of your hair and work your way up to the roots. Cup sections of your curls into the diffuser and hold each section in place until it begins to set. Working section by section lets each curl cluster set in place, giving you a more defined, frizz-free finish.
5. Try the Hover and Cup Method
Hover diffusing combined with the cupping method works wonders for drying curls without frizz. Here’s how it works:
- Hover Diffuse: Begin by holding the diffuser a few inches away from your hair and letting the warm air dry your curls gradually.
- Cup and Hold: After a few minutes, start cupping sections of your curls into the diffuser bowl, holding each section close to your scalp for a few seconds. The cupping motion supports your curls’ natural shape and reduces frizz.
6. Stop Diffusing When Curls Are 90% Dry
Leaving a bit of moisture in your hair keeps curls soft and reduces the risk of over-drying. Once your curls are about 80-90% dry, let them air-dry the rest of the way. This final bit of air-drying helps prevent frizz and gives your curls a natural, touchable feel.
7. Scrunch Out the Crunch for Soft Curls
Once your hair is fully dry, it’s time to scrunch out the crunch. The “crunch” comes from the gel or mousse cast that formed around each curl as it dried, which is what kept your curls frizz-free. To soften the cast:
- Use a Light Oil: Apply a few drops of oil to your palms and gently scrunch your curls from the ends up. This breaks the cast, leaving you with soft, bouncy curls that stay frizz-free.
Final Tips: Hands Off Until It’s Dry!
One of the most important rules of diffusing is to avoid touching your curls while they’re still drying. Handling wet curls can disturb the shape, leading to frizz and flyaways. Once they’re fully dry, you can fluff, scrunch, or shake out your curls for added volume and shape.
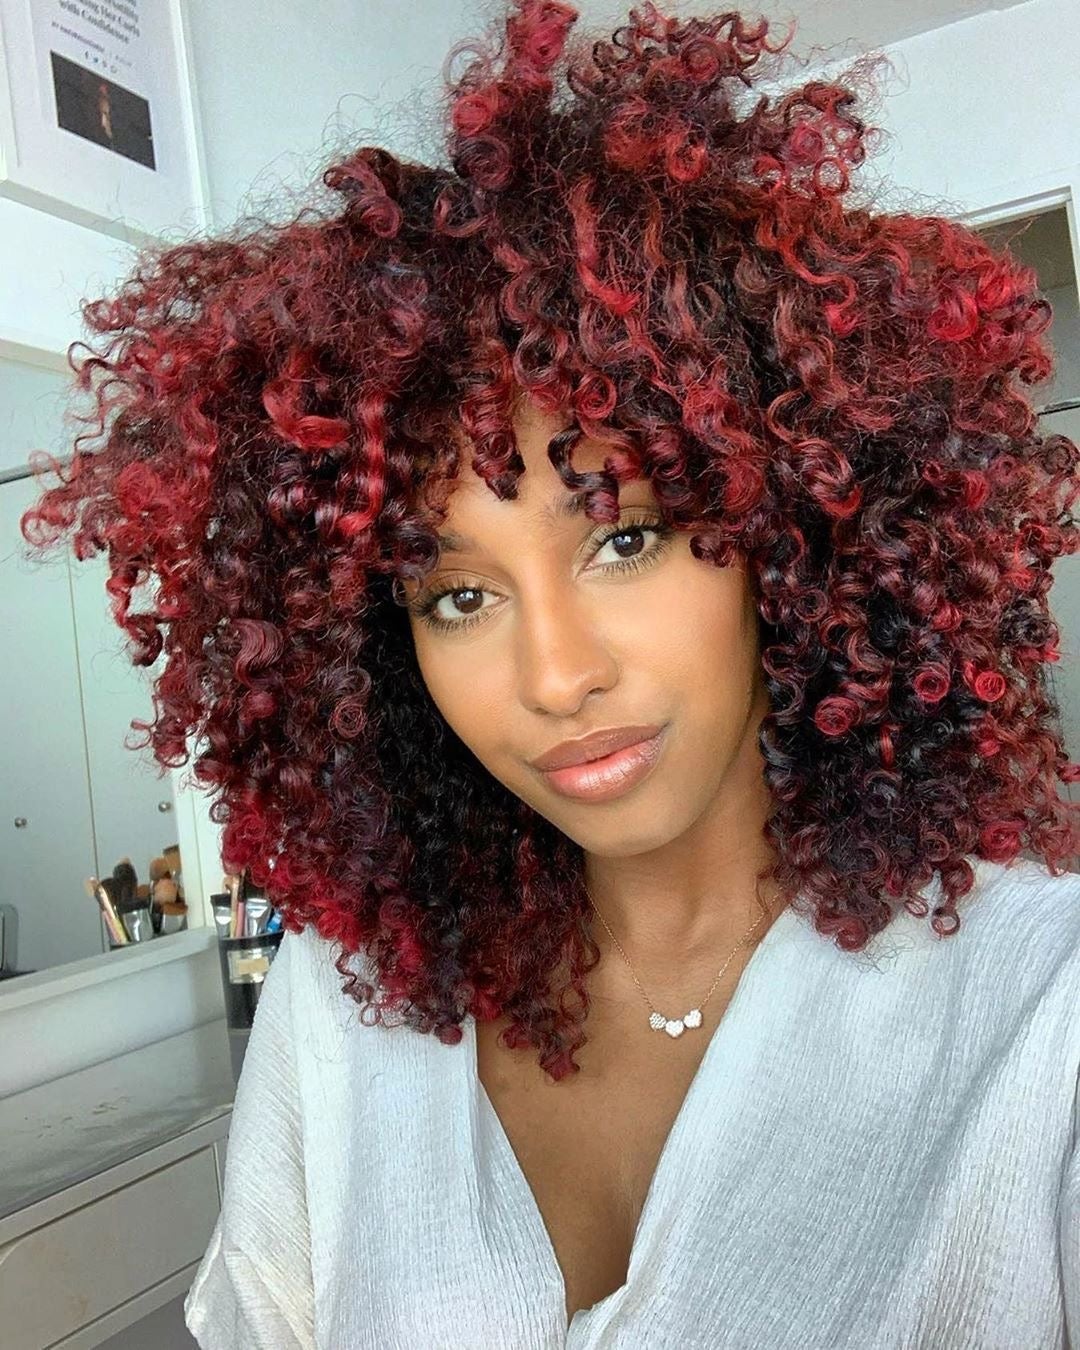
Diffusing Curly Hair for a Frizz-Free Finish
Applying products to wet curls and following a gentle diffusing technique can make all the difference in achieving frizz-free, defined curls. With the right routine and a little practice, diffusing will become a breeze, leaving you with gorgeous, soft curls that hold their shape all day.
If you’re ready to try diffusing or need help finding the right products, we’re here to guide you! At Curl Envy, we love helping our curly community embrace their natural texture.